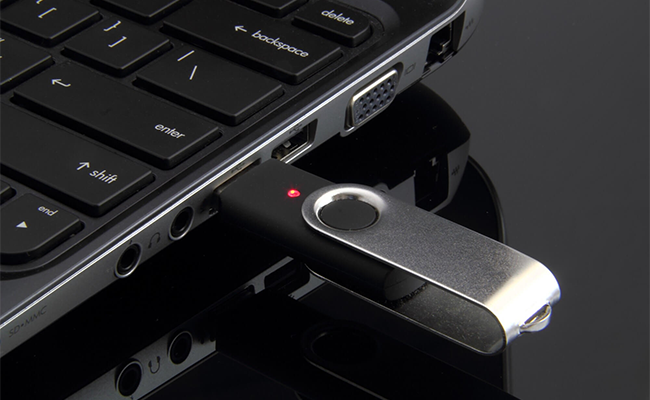
How to Remove USB Drive Safely from Windows 10 1809 Device Policy [Video]
Video uploaded by HTMD Community on April 24, 2019
Quick Removal: The Windows 10 New Feature Slows Down USB Sticks and Drives
The new feature in the Windows 10 build v1809 cancels the Safe Removal routine for USB flash drives, but you may not like it after all.
The proper and safe way to remove a USB is the first thing we all learned back then when USB flash drives just arrived. Some of us unfortunately had to learn the hard way. I damaged my first ever USB stick by yanking it off in a hurry. I lost a lot of important data including a hard drive image. So after that incident, I went to the taskbar to select the Eject icon before disconnecting a flash drive.
And here came this great day when Microsoft officially said we don’t need this procedure any more! Plug in, plug off, do as you wish, your data will be intact. However, this much touted Quick Removal feature was here all along. It just didn’t run by default. The default mode was Better Performance. That’s something to think about, isn’t it? I’d say, Microsoft official support is blunt about the new mode: You can remove the device without using the Safely Remove Hardware process. However, to do this, Windows cannot cache disk write operations. This may degrade system performance.
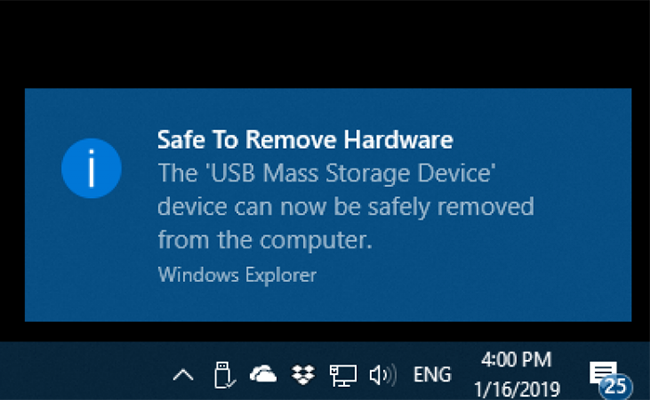
Well, degrading system performance is what Windows 10 has been doing for several years now, but let’s find out what is happening with the cache writing and why it’s so critical. While copying files from an internal drive to a USB flash drive, and the other way around- your PC creates their copies to fasten the process and stores them in the cache memory. The PC is like an airport and the files are like passengers who want to leave a boarding a plane (a USB stick, for example). Typically, passengers gather in a loading area, from where they are taken to the plane. So do the files. If our “plane” takes off without warning, some “passengers” might end up staying behind and never come aboard the plane. What a sad story!
With Quick Removal on, the PC has no “loading area” to control the “passengers” and has to be extra careful not to lose anyone on the way to the “plane”. No wonder, the writing process slows down significantly. It can drive you crazy if you’re copying large files. Is there a remedy for it? Yes! You can turn off the good old Better Performance mode. Here’s the manual:
- Connect the USB external drive to the PC.
- Right-click Start, and then select File Explorer or left-click it’s icon on the desktop.
- In File Explorer, identify the device by the letter or label (usually, USB drives start with D, but it can also be E, F and even G if you have a lot of USB drives).
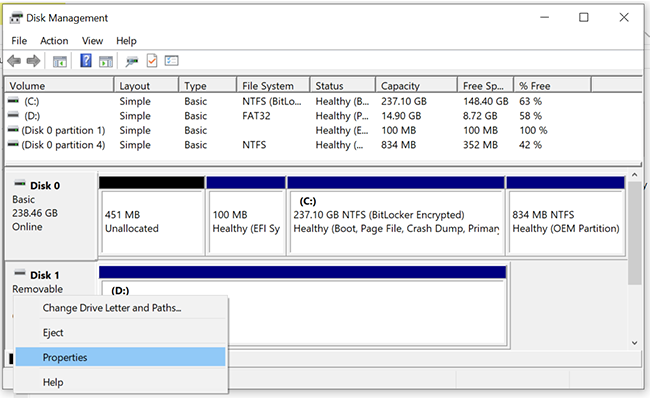
- Right-click Start, and then select Disk Management.
- In the lower section of the Disk Management window you’ll see the list of disks. Right-click the label of the plugged-in USB drive, and then click Properties.
- Select Policies tab, and then check the Better Performance window under Removal Policy. Write-caching policy will turn active.
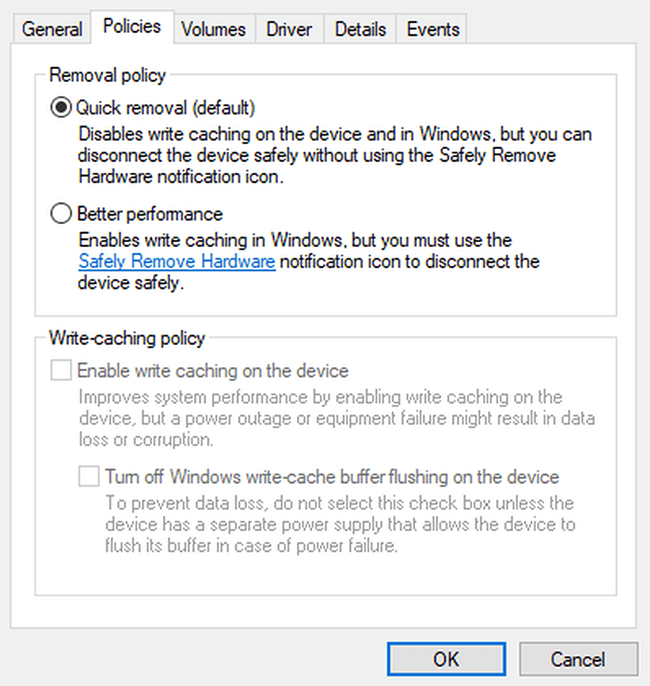
- Check Enable write caching on the device.
- Click OK.
Links
- Windows 10, version 1809 and later: Change in default removal policy for external storage media – Microsoft Windows Support
- Windows 10 Defender Can Protect Against Scareware – iGotOffer
- Sell your Microsoft product omline – The best place to sell used electronic devices
- Everything About Microsoft’s Products – The complete guide to all Microsoft consumer products, including technical specifications, identifiers and other valuable information.



Facebook
Twitter
RSS