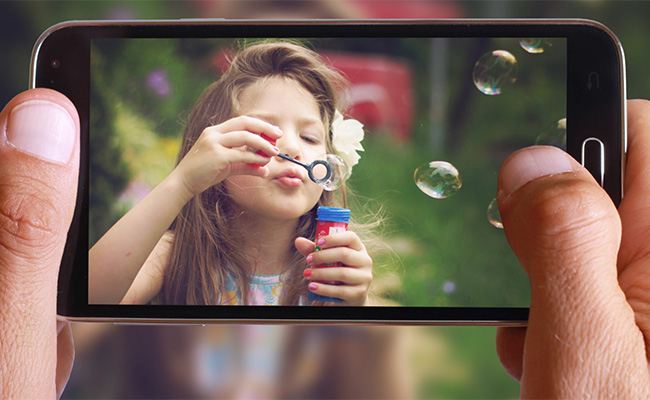
Take BETTER SHOTS with your iPhone [Video]
Video uploaded by Peter McKinnon on January 10, 2017
Contents
Taking the Best Photos: Tips and Tricks
Ironically, placing calls is often the last thing on our minds when choosing a new smartphone. A good camera is the most important feature on a phone these days, which explains the Instagram craze. Unfortunately, most people’s photos are far from perfect and don’t even remotely resemble the promo pictures from the presentation! It’s frustrating, isn’t it?
We tried to sum up some tips and tricks to help you improve your phone camera skills:
Know Your Phone’s Limits
Open the default camera app and study which modes it offers. Every smartphone camera nowadays features at least three modes: Auto, Manual, and Panorama. All phones have a light sensor, which measures the scene luminosity; even budget models can distinguish between natural or artificial light. The more advanced the phone is, the more sensitive the sensor will be. Some smartphones can even detect smiles, or are triggered by moving objects while they’re on. If all the toggles and dials in the Manual mode make you uncomfortable, stick to the Auto mode.
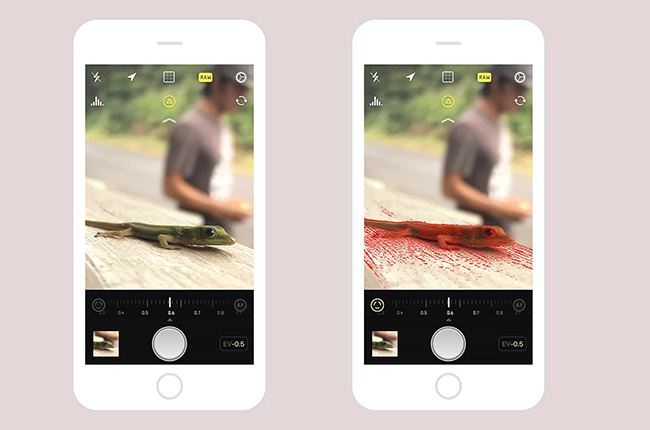
To take a photo in auto mode easier than in manual
Light is Key
Photography is the art of light, which is critical to the quality of the pictures. Try to get as much light as possible. The “magic” hours for taking photos are two hours after sunrise and two hours before sunset, when natural light is bright and soft.
If you’re taking photos indoors or at night, get closer to any light source you can: move near lamps or candles or stand closer to street lights to make the scene lighter. Use the portrait light on your phone, if you have one.
Avoid using the flash—It distorts colors (making them too vivid to look natural), and the flash can reflect from smooth, shiny surfaces.
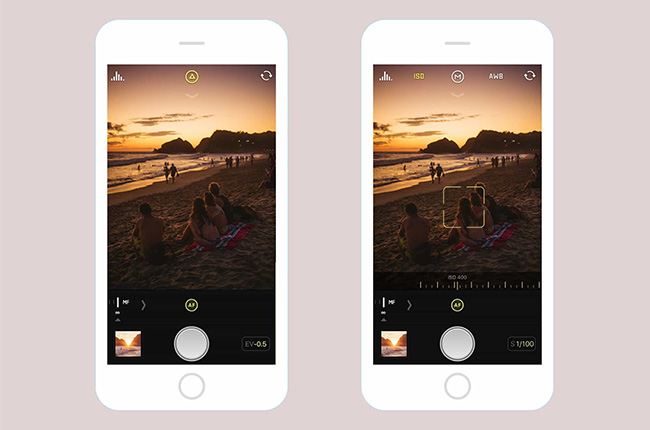
Manual exposure takes care of tricky lighting
Rule of Thirds
Do not position a person or object in the center of a picture; instead, divide the phone screen into two vertical and two horizontal imaginary lines. Some default camera apps automatically apply a visible grid. Notice that neither line goes through the center of the screen, but is divided into three vertical and three horizontal stripes. Try placing an object along one of the lines or its crossings.
Focus
Determining focus is very easy to do on a smartphone. Usually, when you tap the screen, a dot or crosshairs appear. You can move them with your finger to highlight the most important person or object in the photo, like your friend’s face or the cake she has in her hands. Focus on the story you want to tell.
Top smartphones like Apple iPhone Xs, Xs Max, Sony Xperia Z, and others feature adjustable image depth, which enables you to add a bokeh (blurred image) in the background, to give a foggy, artistic touch to your photos.
Backgrounds Can Ruin Your Selfie
To take a good selfie, keep some distance between yourself and the background. For example, do not press your back against a wall with funny graffiti; step forward and leave some space behind you.
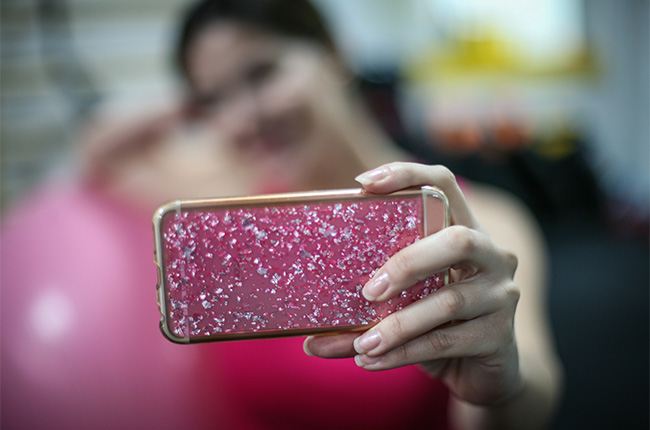
Backgrounds Can Ruin Your Selfie
Stability
Stabilization of an image is as important as lighting. Leave the shaking camera to the horror movies directors! Prop your elbows into a tripod or stand.
Top smartphones usually feature the Optical Image Stabilization system: turn it on, but don’t expect a miracle. OIS is purely digital and depends on the CPU load.
You Are the Best Zoom
In normal cameras, the image is zoomed physically by changing the length of the person, place, or object; in mobiles, there’s only digital zoom. Unfortunately, digital zoom makes pictures look grainy and dull, so it’s best avoided. Come as close to the object as you can and move the phone closer— you are the best zoom!
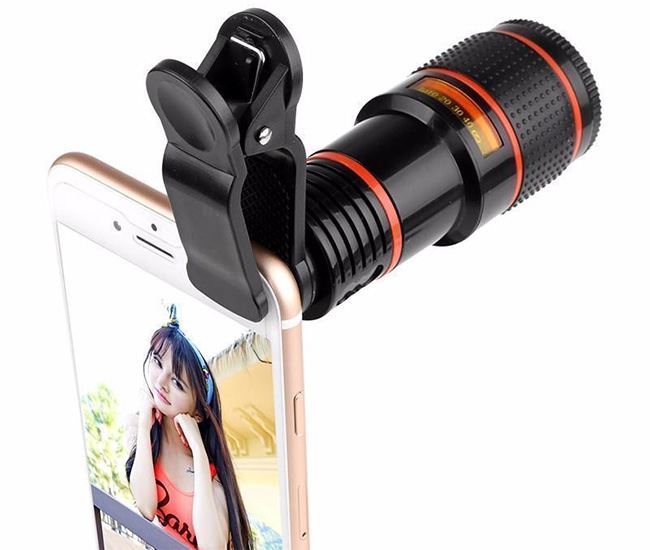
You can use zoom lens to improve the quality of photos
Snap Away!
Take as many pictures as you can. Try various angles—at eye level, from above, from below, off-kilter—and different lighting environments. For example, take several pictures of a flower in the morning, with several minutes between each photo, to see what light looks best. Professional photographers take dozens of photos before deciding which to choose later.
Relax; It’s Fun!
If you’re taking photos of people, let your models choose the scene, look, background, and postures, so they’re as comfortable as possible. With pets, you should use extra tools like toys or treats. For example, kittens look adorable if they look not at you or your phone, but at a feather teaser in your hand. What’s more important, they’ll stay put while you take their picture. It’s fun!
Process Your Photos
Sort your pictures and pick the best ones. Use the default gallery tools or a third party app to process the images. Modern smartphones can do that, and you won’t even need to upload the pictures to your laptop.
Photo tip: do not add any frames, especially to landscapes. One last tip about the lenses. Don’t forget to occasionally wipe them with a cloth, especially if the objects you’re photographing are close to the finger sensor.
Links
- Photos – Official Apple Support – All the topics, resources, and contact options you need for Photos.
- Everything About Apple’s Products – The complete guide to all Apple consumer electronic products, including technical specifications, identifiers and other valuable information.
- Trade in your smartphone for top price online now – iGotOffer.


Facebook
Twitter
RSS