How to Restore Your iPhone
If you have tried all the other troubleshooting actions, but your iPhone is still acting hinky, you need to restore the device. The process is the same for Windows and the Mac.
Contents
How to Backup Your Old iPhone and Restore to iPhone X, Xr, Xs, and Xs Max [Video]
Video uploaded by zollotech on September 22, 2018.
How to Restore iPhone
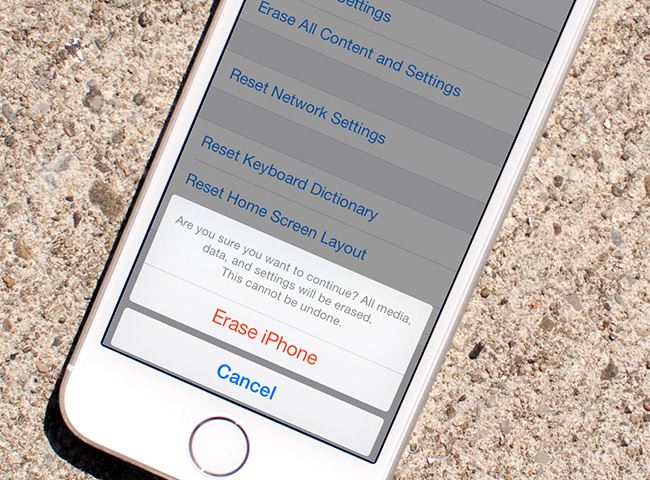
Remember that restoring your iPhone wipes all the data off the device, resets the hardware and re-installs the software. Restoring your iPhone essentially returns it to the condition in which you bought the device, except that the SIM remains activated. After restoring your iPhone, you sync it with iTunes again, and it picks up all the data from iTunes or other programs, such as your address book, that the iPhone had before.

Warning: Before you restore iPhone, remove any content that you have created on it (screen captures, photos, notes) and not yet synced. Again, this assumes that your iPhone is functioning well enough for you to remove the content.
Follow these steps to restore your iPhone:
- Connect your iPhone to your computer. Wait for the device to appear in the Source list in iTunes.
- Click your iPhone’s entry in the Source list to display the iPhone screens.
- Click the Summary tab if this tab is not already displayed.
- Click the Restore button and iTunes will display a confirmation dialog box, to make sure you know that you are about to erase all the data from the device. Note that if a new version of the iPhone software is available, iTunes prompts you to restore and update the iPhone instead of merely restoring it. If so, click the Restore And Update button if you want to proceed; otherwise, click the Cancel button.
- Click the Restore button to close the dialog box, and iTunes will wipe the device’s contents, and the restores the software, showing you its progress while it works.
- At the end of the restore process, iTunes will restart your iPhone and display an information message box for ten seconds while it does so. You can either click the OK button or allow the countdown timer to close the message box automatically.
After your iPhone restarts, it appears in the Source list in iTunes. Instead of the iPhone’s regular tabbed screens, the Set Up Your iPhone screen appears.
To restore your data, make sure the Restore From The Backup Off option button is selected, Verify that the correct iPhone appears in the drop-down list.
Click the Continue button, and iTunes will restore your data and then restart the iPhone, displaying another countdown message box while it does so. Either click the OK button or allow the countdown timer to close the message box automatically.
After your iPhone appears in the Source list in iTunes following the restart, you can use it as before.
How to Resolve the “No SIM Card Installed” Error

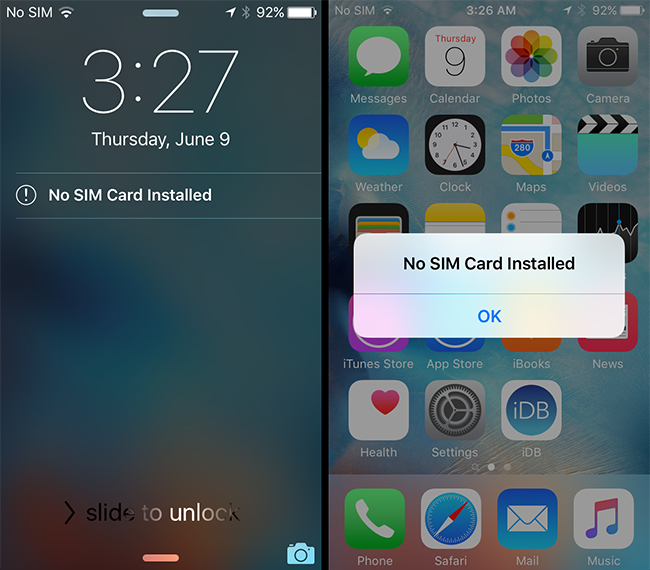
If your iPhone shows the message The iPhone cannot be used with iTunes because the SIM card is not installed, have a look at the iPhone’s SIM slot to make sure that it hasn’t been popped out. Normally, opening the SIM slot requires human intervention, though not necessarily your own – for example, the iPhone seems to have an even greater attraction for children than for adults. If the SIM slot is open, make sure the SIM is correctly aligned, and then push it back in. If the SIM slot seems fine, check the USB connection between your iPhone and your computer. This error can occur when the connection between the two is broken while iTunes is trying to access the iPhone – for example, if you bump the iPhone shortly after you put it in a dock.
How to Solve the Problem of Songs Not Being Transferred to Your iPhone
If songs you have added to your library are not transferred to your iPhone even though you have synchronized successfully since adding the songs, there are two possibilities:
- Check that you have not configured your iPhone for partial synchronization or manual synchronization. For example, if you have chosen to synchronize only selected playlists, your iPhone won’t synchronize new music files not included on those playlists.
- Check that the songs’ tags include the artist’s name and song name. Without these two items of information, iTunes doesn’t transfer the songs to your iPhone, because your iPhone’s interface won’t be able to display the songs to you. You can force iTunes to transfer song files that lack artist and song name tags by adding the song files to a playlist, but in the long run, you will benefit from tagging all your song files correctly.
Links
- Restore your iPhone, iPad, or iPod touch from a backup – Apple Support
- Sell used iPhone for the best price on the online market – iGotOffer

Thanks, I managed to restore this old iPhone thank to your guidelines. Appreciate it.